Slot two paper circles together for a three-dimensional Christmas ornament
Two circles can stand across one another to make a simple open ornament. It looks rounded from several directions, but it is not a solid sphere. Each circle has a slit reaching its centre; the two slits enter from opposite sides so the pieces can meet.
Use card, a pencil, ruler, compass and scissors to make two equal circles. An adult should make cuts unsuitable for the child. Start without decoration so you can check the fit before spending time on the final design.
Mark equal circles and their centres
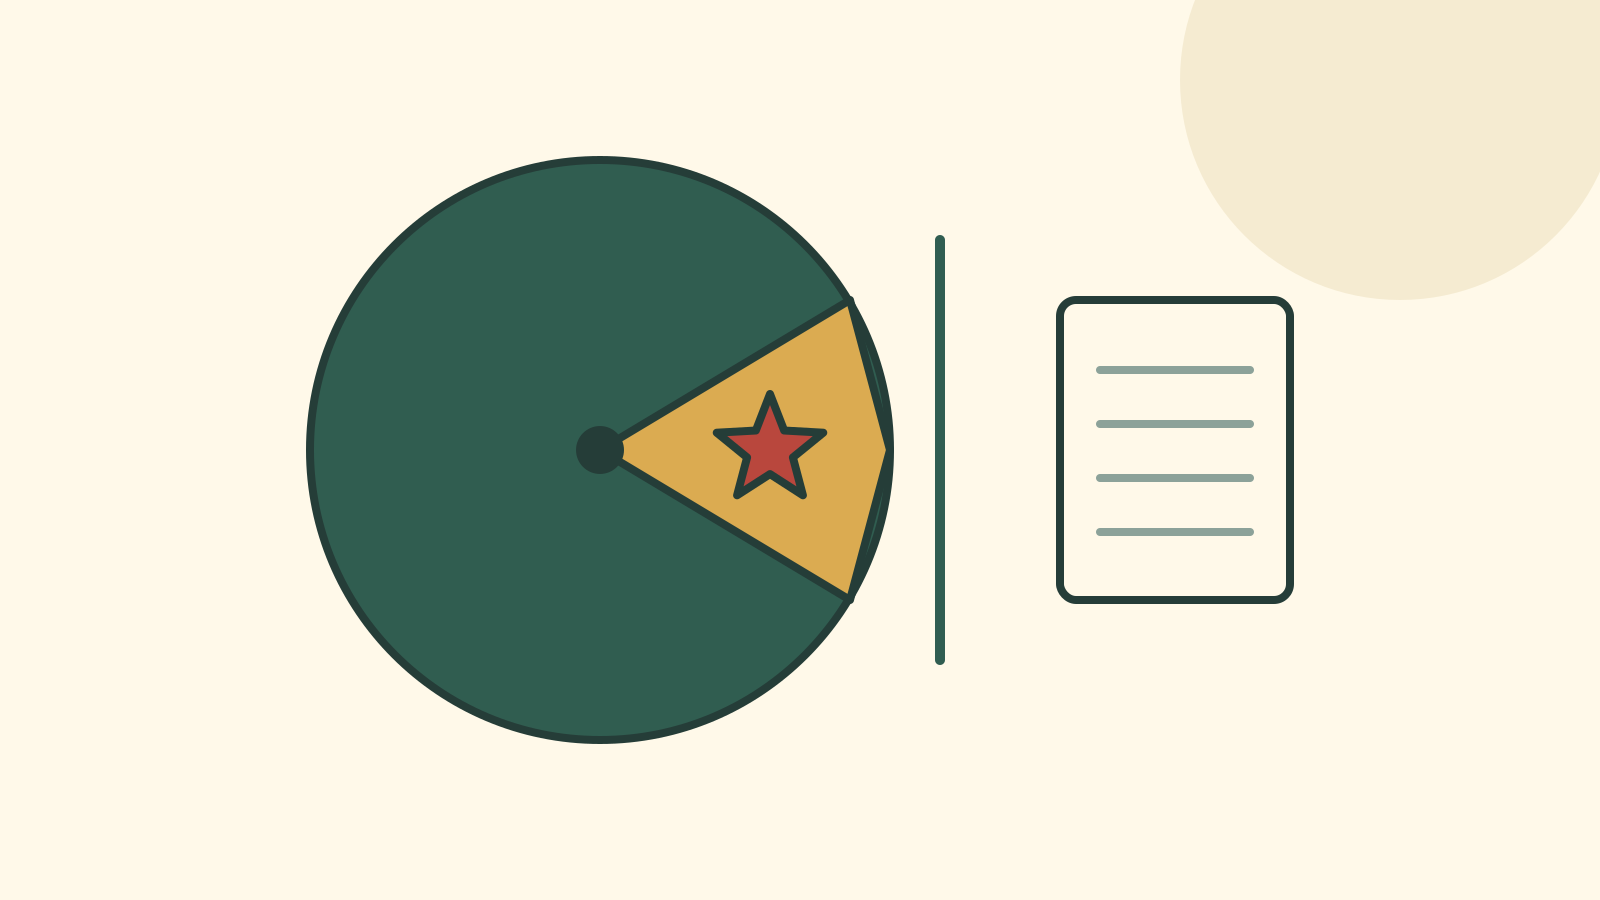
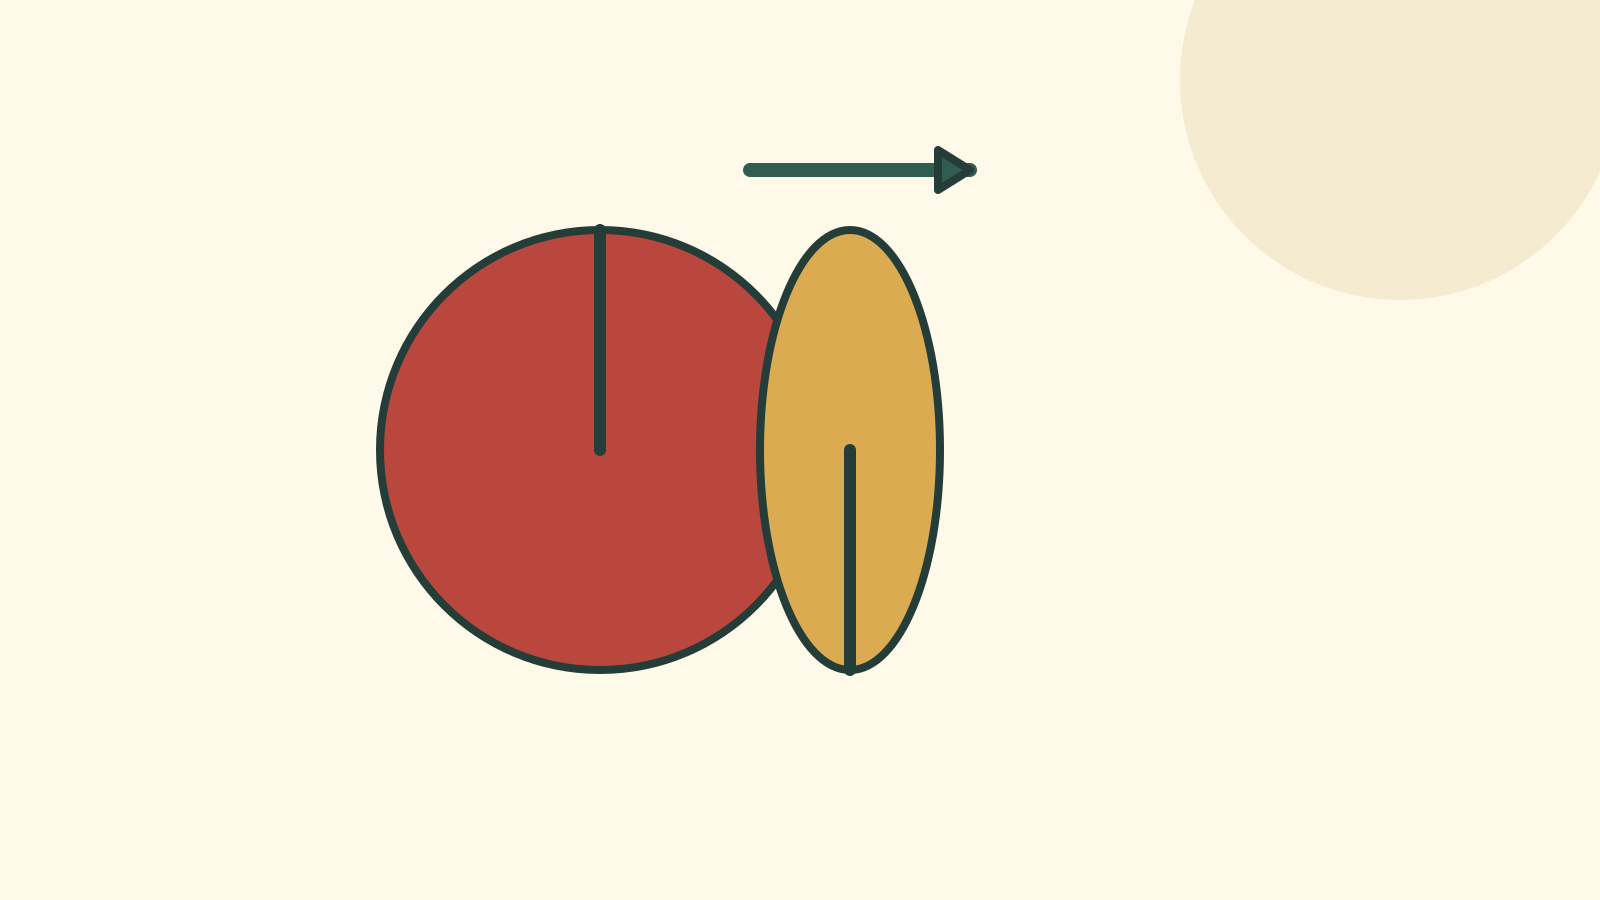
Draw two circles with a radius of 4 cm, making an 8 cm diameter. Mark each centre. On the first circle, draw a straight line from the top edge to the centre. On the second, draw from the bottom edge to the centre.
These are opposite half-slits, not cuts all the way across. If you cut through the entire diameter, the circle becomes two separate pieces and cannot interlock as intended.
| Piece | Cut begins | Cut ends |
|---|---|---|
| A | Top edge | Centre |
| B | Bottom edge | Centre |
Cut a trial fit
Cut along each marked line. The slit must accommodate the thickness of the other piece. A single scissor cut may be too tight for thick card; make a small, controlled adjustment rather than widening it drastically at once.
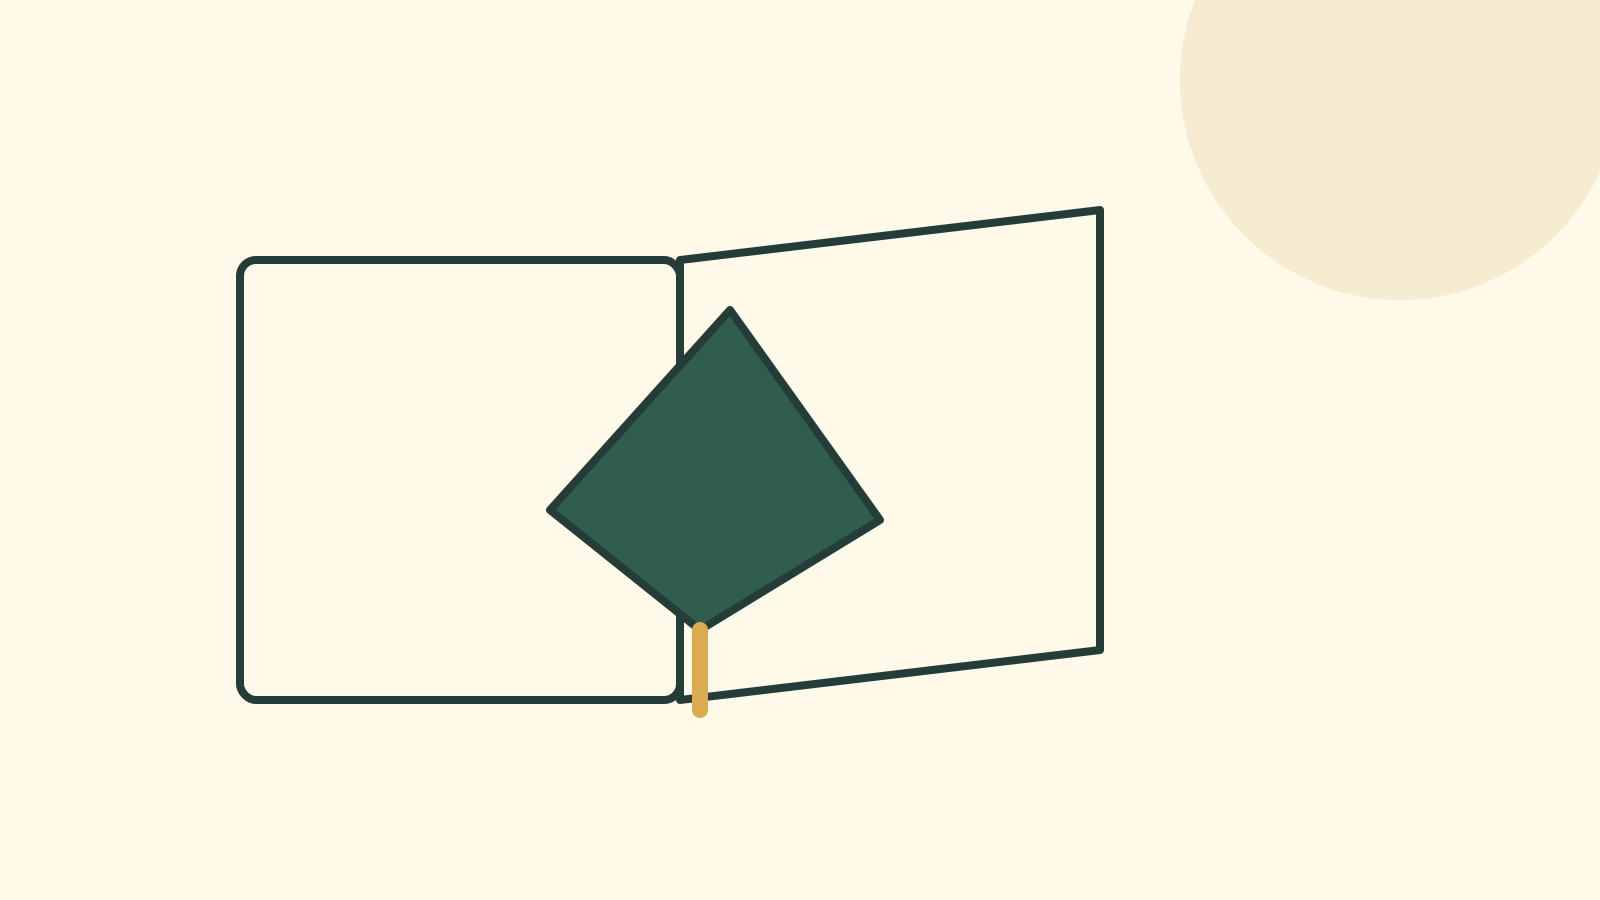
Hold the circles in perpendicular planes. Slide their cut openings together until the centres meet. The upper half of one circle occupies the other’s upper slit and the lower half meets the opposite slit. If they stop early, check the cut lengths and thickness clearance.
Do not force the pieces through or add glue to hide a bad fit. If a slit is too wide, the ornament may wobble; remake that piece or choose a better-fitting material.
Check the form from two directions
Set the joined circles on a clear surface and look from the front and side. Their centres should line up, with the two planes approximately at a right angle. The nominal geometry is straightforward, but the paper’s actual fit has to be checked by making the object.
Use a hanging arrangement only if an adult has checked the connection and location. Loose thread and small fittings may not suit all participants. The basic activity also works as an object you hold or place on a table.
Decorate without blocking the slits
Separate the circles gently and colour them. Keep the centre openings clear. You can draw different stars on the two planes so the view changes as you turn the ornament. Let added material dry before reassembling.
Check the fit again after decoration. Heavy layers or folded edges can change the thickness. The finished result is two intact circles meeting at their centres. Keep a spare undecorated pair if you want to explore how another card thickness behaves.
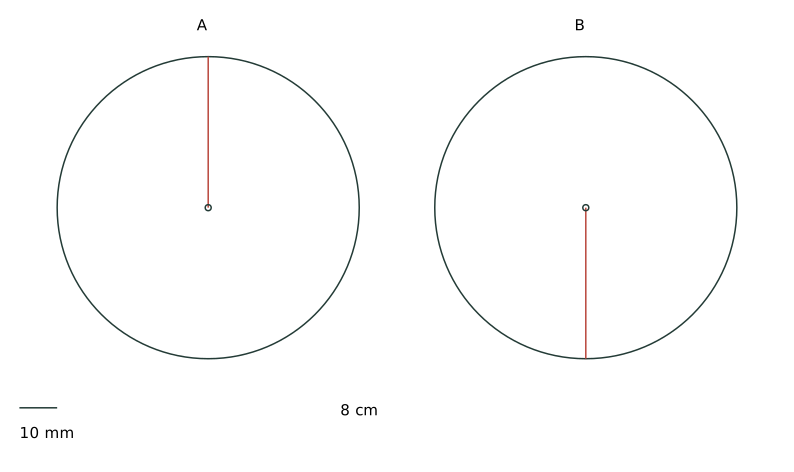
Print at 100% and check the calibration ruler. This dimensional guide has not been physically trialled.