Make a cardboard photo stand with a separate rear leg
Give a Christmas drawing or spare family photo a place on the shelf. Make a cardboard backing with a separate rear leg, then use ready-made photo corners to hold a picture you can change.
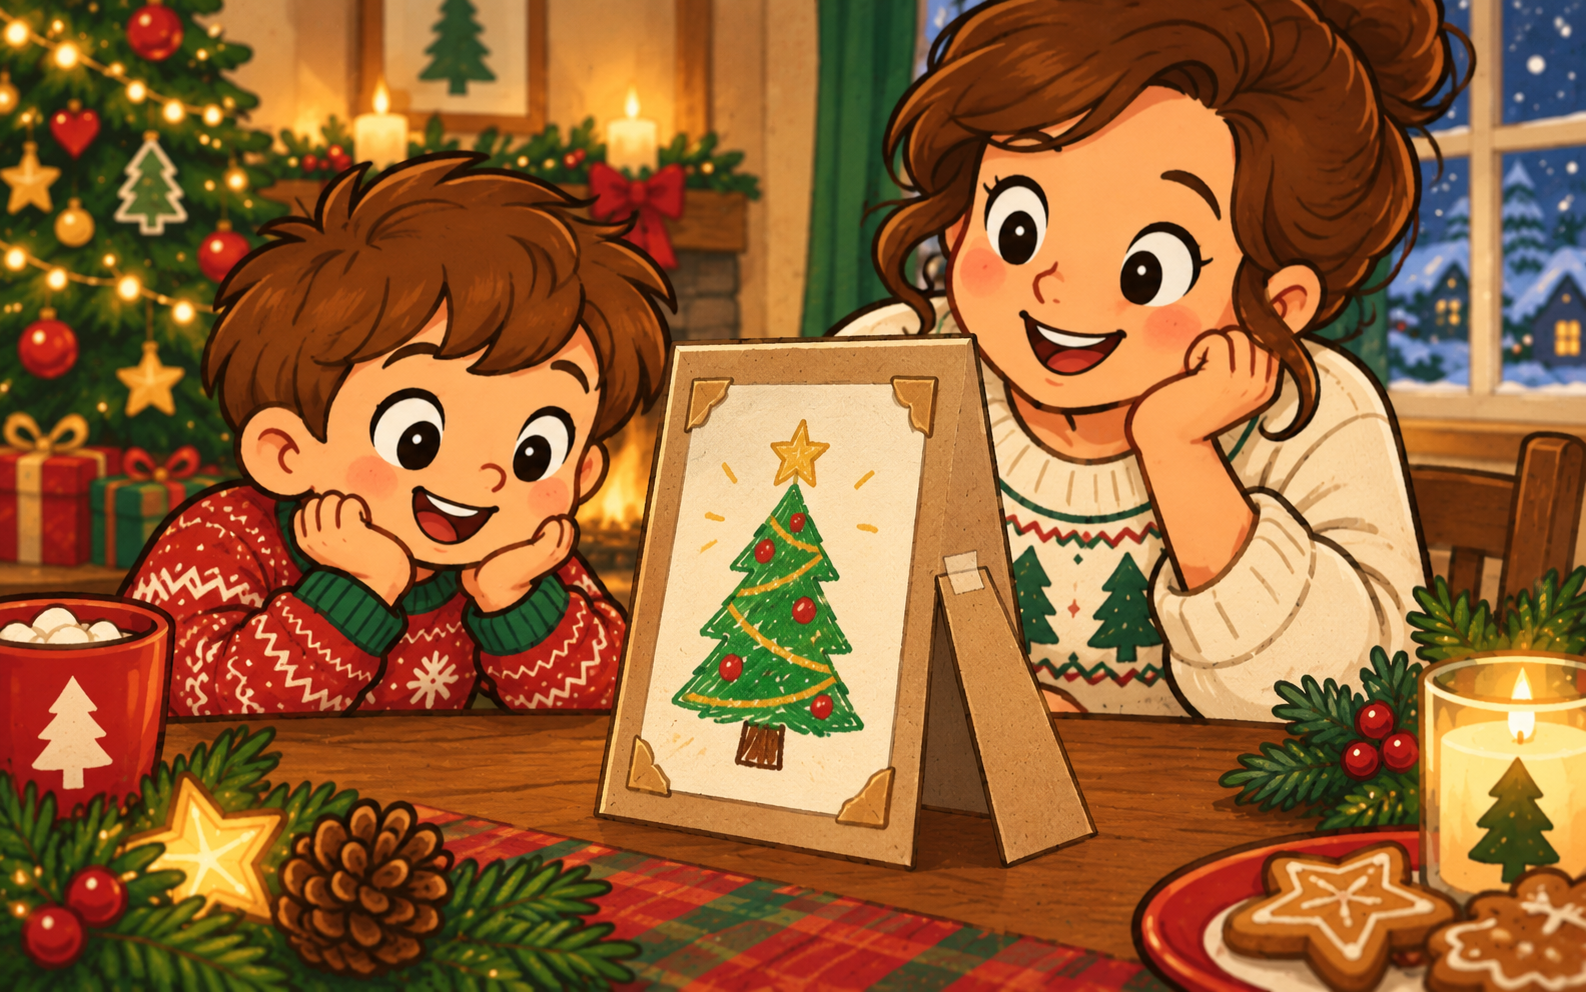
This suggested craft combines museum and archive guidance; the combined design has not been physically tested. Try scrap materials first. Use only a small, lightweight print or drawing, without glass.
Gather the pieces
Find firm cardboard for a backing and leg, a pencil, ruler, scissors, tape, and ready-made photo corners sized for your picture. An adult should handle difficult cutting. Use a duplicate print, never an irreplaceable original: ordinary cardboard is for temporary display, not archival storage.
Fit the backing
Lay your picture on the cardboard. Mark and cut a backing with a visible border around it, leaving room for the corner holders. Keep its bottom edge straight: it will rest on the shelf. There is no front window to cut.
Make the rear leg
On scrap cardboard, draw a rectangle smaller than the backing. Draw a diagonal between opposite corners and cut along it to make two triangles; keep one.
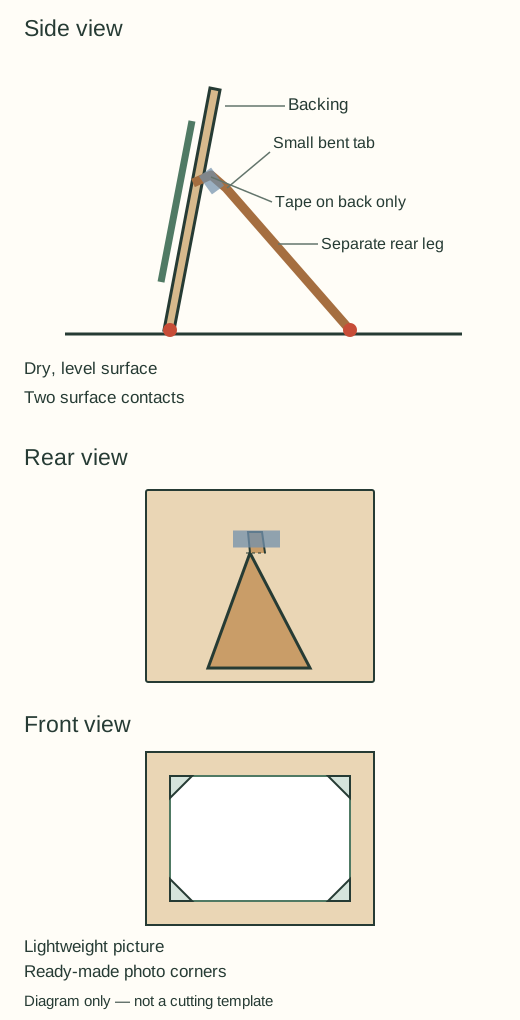
Hold the backing upright with a slight backward lean. Behind it, position the triangle with its narrow tip near the centre of the backing and its broad lower edge on the table. Bend a small attachment tab at the narrow tip. Tape only that tab to the rear of the backing, leaving the rest of the leg free to angle backward. Keep tape away from the picture side.
Check before decorating
Stand the empty backing on a dry, level surface. Both its bottom edge and the leg’s lower edge must touch the surface. If it tips, adjust the leg’s bend or attachment position and try again. If the cardboard buckles, replace it with firmer cardboard or make a smaller backing for a smaller picture. Skip heavy decorations.
Add a picture you can remove
Lay the backing flat. Slip the ready-made corners onto the print, position it, then attach the holders to the backing according to their instructions. Adhesive belongs under the holders, never on the image.
Gently free the print from the corners and put it back. If it bows or catches, reposition the holders rather than forcing it. Repeat the standing check with the picture fitted. Add only light pencil or marker decoration, then check again in its display spot. Keep personal photos somewhere your family is comfortable displaying them.
Sources and adaptation
The Institute of Contemporary Art Boston’s handmade frame activity supplies the separate triangular rear-support idea. This version leaves out the front frame and uses ready-made photo corners instead of attaching the picture directly. The US National Archives’ family storage guidance explains non-adhesive mounting and why valuable originals need suitable materials. Neither source has tested this combined design.