Draw matching Christmas baubles with one cardboard tube
Use the outside of a cardboard tube’s rim as a pencil guide. Check space for three circles and their hanging lines before decorating.
Find a rim that rests flat
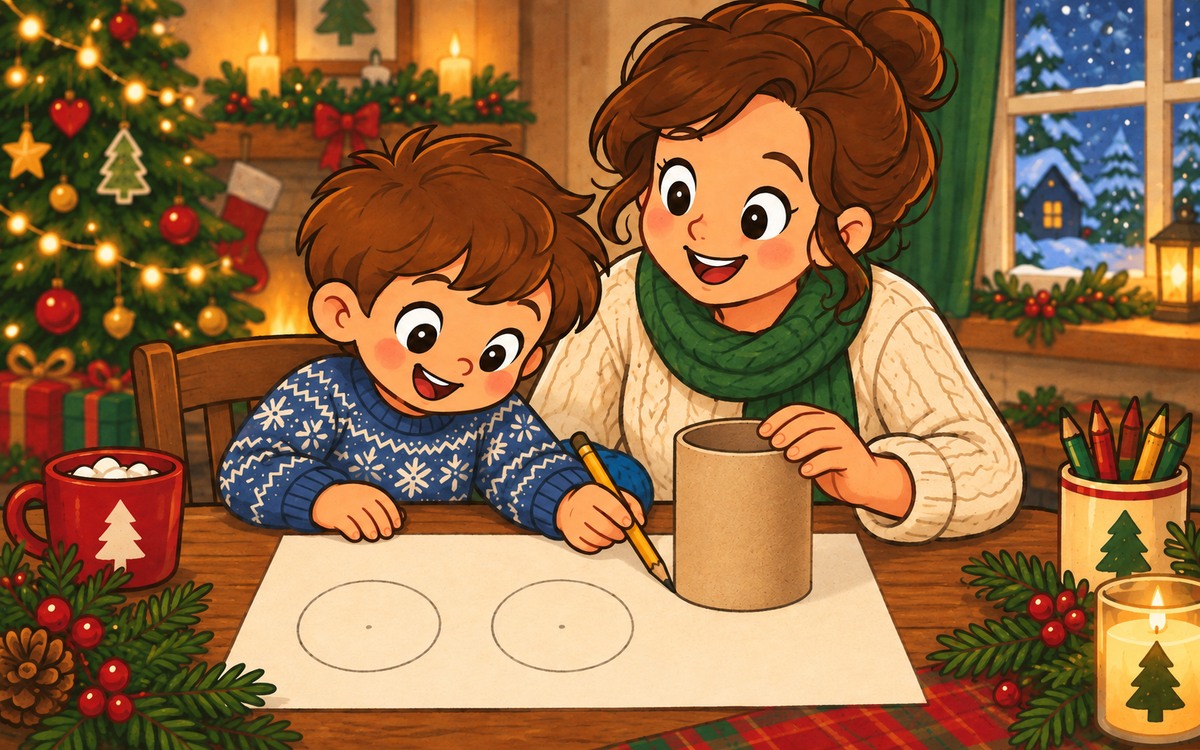
One cardboard tube can help you repeat a similar round outline without a printed template. The tube guides the pencil at its outside base; the circles stay on the paper and become drawn Christmas baubles.
Use a clean, dry, empty tube, plain paper, a pencil and crayons. Stand the tube on scrap paper and touch it lightly. Try the other end if the first rocks or has a crushed edge. If neither end rests flat, choose another tube or draw by hand today.
The tube stays whole. You do not need scissors, paint or glue for this drawing.
Try all three positions first
Lay the main sheet sideways. Place the tube in three proposed positions across it, checking each one before tracing. Leave a gap between the circles, a margin at both sides and room above for caps and hanging lines.
Mark a small pencil dot through the tube's opening to remember each position. It only needs to be roughly central. If three placements crowd the page, use a larger sheet or make two baubles instead.
Return the tube over the first dot. One person holds it gently near the top, leaving its bottom edge clear. Avoid squeezing the cardboard into an oval while holding it.
Trace beside the outside base
Keep the pencil tip on the paper immediately beside the tube's outside bottom rim. Move around that rim a little at a time. You are not drawing inside the hole or tracing the shadow.
If the far side is awkward to reach, lift the pencil. An adult can draw that section while the tube stays still. Lift the tube only after finishing the outline, then look for any small gap to join by hand.
If the tube slips, pause and place it back against the line already drawn. A slightly uneven circle can stay. Use the same rim at the other marked positions, keeping each outline separate.
Turn the circles into hanging baubles
Put the tube aside. Draw a small cap at the top of each circle and a line rising from it. You can join the lines to one drawn branch above the row, leaving room between that branch and the caps.
Choose a different finish inside each circle: red stripes, green dots or a plain colour. These are suggestions, not a pattern to copy. The small position dots can become part of the decoration.
One traced bauble is enough if your child wants to stop. Keep the picture flat and return the tube to your craft supplies if you want to reuse its rim.
Tube-rim drawing card

Tools: whole clean dry tube, paper, pencil, crayons.
First check: one end rests flat; try the other if it rocks.
Layout: three separate positions with gaps, side margins and room above.
Mark: one roughly central pencil dot through the opening at each position.
Hold: gently near the top, bottom rim clear.
Trace: pencil tip on paper beside OUTSIDE bottom rim.
Hard-to-reach side: lift pencil; adult can finish while tube stays still.
Lift tube after outline; join any small gap by hand.
Repeat with the same rim at the other dots.
Finish: top caps, hanging lines, optional drawn branch.
Decorate: stripes / dots / plain colour / own idea.
Shorter drawing: two positions or one finished bauble.
Keep picture flat; save tube with craft supplies.