Make a Christmas night picture with torn paper
Use a dark background, a pale torn moon and one low silhouette. Arrange the pieces before gluing and choose a Christmas detail that remains easy to see.
Choose a dark background and a light detail
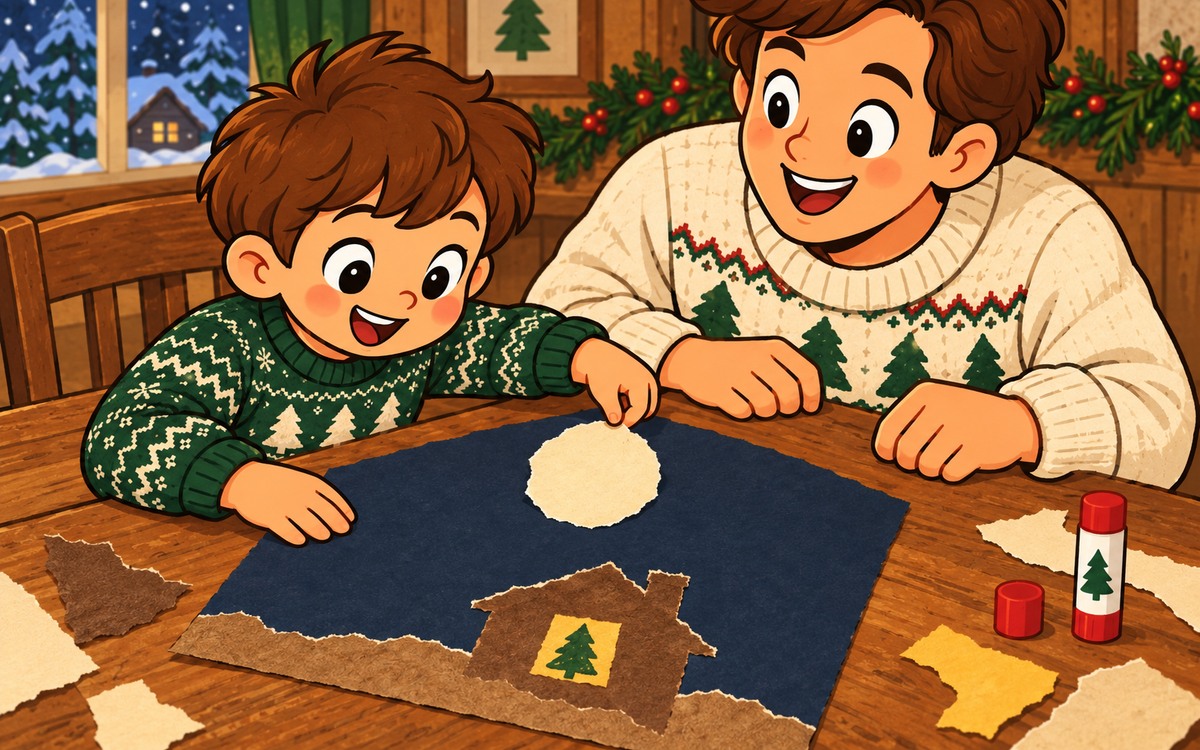
A Christmas night picture can begin with a few broad pieces of torn paper. A pale moon against a dark sky gives your child one main detail to arrange. The scene can be imagined; it does not have to copy the weather outside.
Choose a dark blue or similarly dark sheet as the background. Find a light scrap for the moon and a darker scrap for a house or hill. Plain paper that tears comfortably works better for this activity than thick packaging. Keep a glue stick nearby, but begin without glue.
Tear slowly around a broad shape
Hold the light scrap with both hands close to the place where the tear will begin. Make a short tear, move your fingers closer to the new edge and continue. To suggest a rounded moon, tear away the corners gradually rather than trying to remove a circle in one movement.
A rough edge belongs in this picture. If the piece becomes much smaller than planned, use it as a star or another light detail and begin a larger moon from a fresh scrap. Your child can also keep an uneven moon without correcting it.
Tear one dark piece for a low house or hill at the bottom. A house may have a rough roof shape; it does not need straight walls. Keep the silhouette low enough to leave plenty of sky around the moon.
Try the layers without attaching them
Place the silhouette first, then move the moon around the upper part of the background. Ask your child where they can see it clearly. If it disappears against another light patch, move it onto an open dark area.
For a house, add a broad yellow paper window over the dark shape. For a hill, a yellow patch can mark an imagined light on the path. Let your child choose one Christmas detail, such as a small drawn tree in the window. Avoid filling the whole sky with extra scraps before deciding where the main detail belongs.
Glue in the order of the layers
Lift the silhouette, apply glue to its back and return it to the bottom of the sheet. Add the moon, then the window or path light. Press the pieces gently, including loose torn edges, and let the glue set.
Your child can point to the brightest-looking piece and describe this imagined Christmas night in one sentence. Keep the collage flat while it dries. The torn edges and a clear main detail already give it a finished shape.
OUR PAPER CHRISTMAS NIGHT
Dark background: ______
Main light detail: ______
Low silhouette: house / hill / other
Extra light belongs: window / path / other
Christmas detail we chose: ______
Our sentence about the scene: ______