Make a Christmas view in a cardboard picture frame
Choose what a cardboard frame will show in one Christmas drawing. Try a loose paper window before cutting, then keep the important detail inside the opening.
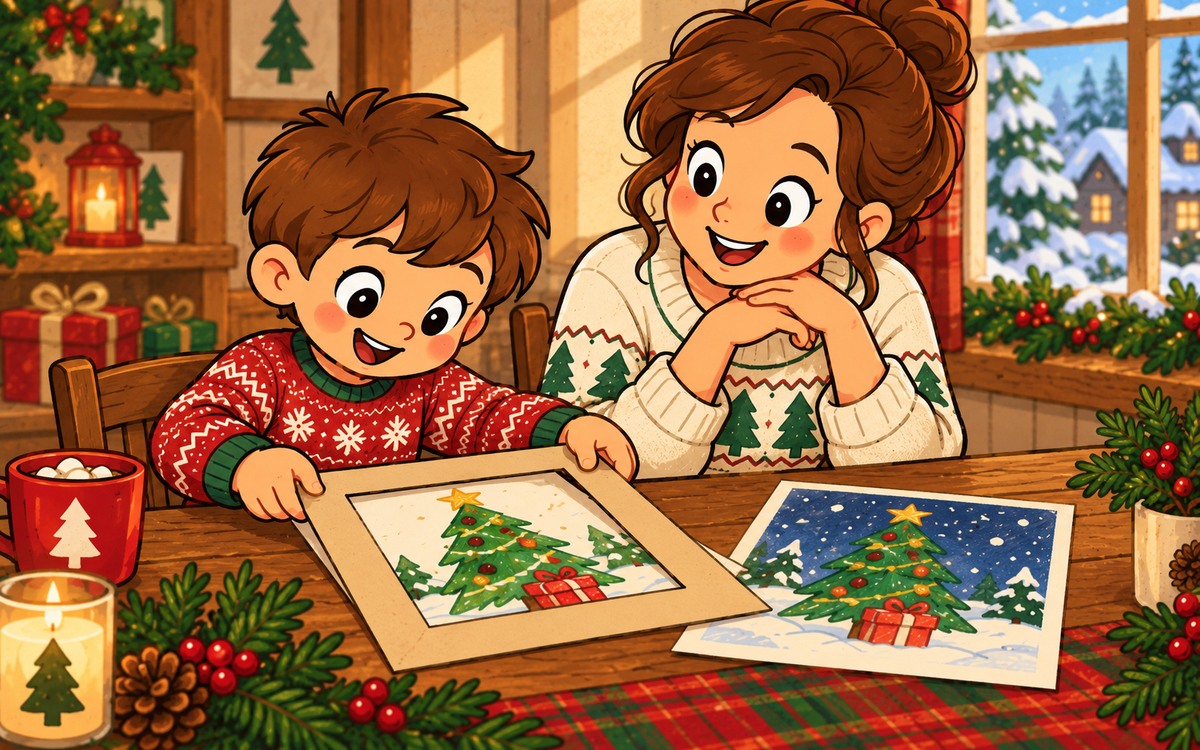
A cardboard frame can change which part of a Christmas drawing you notice first. Begin with a drawing your child has already made, or make one scene on a sheet. Together, choose one detail to keep visible and try the frame before cutting the cardboard.
Choose a detail in the drawing
Use an ordinary drawing that its maker is happy to handle. Ask which part matters most: a tree, a parcel beside a house or one figure on a snowy path. The frame should leave that detail visible, with a little space around it.
Take four broad paper strips and lay them over the drawing as the sides of a loose rectangular window. Move the strips inward or outward without gluing them. Keep enough picture visible for your child to recognize the scene. They may prefer a wide view with the path, or a closer view around the tree.
Try the opening before cutting
Look through the paper window together. Does an important part disappear beneath a strip? Move that strip before choosing the final opening. A tree's top or the parcel that gives the story its meaning may need more room. The child can keep the whole picture visible if they prefer.
For a proposed fictional example, a drawing shows a tree and a red parcel. A narrow opening hides the parcel, so you widen it until both are visible. The useful change is choosing what the frame includes, rather than correcting the drawing.
Transfer the chosen window to cardboard
Choose a piece of card that fits over the drawing without extending beyond its edges. Mark where its outer edges will sit on the picture. With the strips still showing the chosen opening, measure from each marked outer edge to the inner edge of the strip on that side, where the opening begins. Mark those same four distances inward from the corresponding edges of the card, then join the marks to draw the opening. Leave a broad continuous border on all four sides; use a larger piece of card if the opening leaves too little border.
An adult cuts out the center on a protected surface with suitable tools. Keep the cardboard frame in one piece. Set the cut frame over the drawing at the marked position and check that the chosen detail remains visible. If the opening is too small, an adult can enlarge it while keeping the border broad.
Keep the child's chosen view
Add a few drawn stars to the cardboard border if wanted, keeping them outside the opening. Leave the layers loose so you can lift the frame to see the whole drawing again. Put the picture and frame together in a flat folder when finished.
Ask your child to show the detail they chose. They can point instead of explaining. One drawing and one chosen view are a complete result; the picture underneath stays theirs.
The detail we want to keep visible:
Opening tried with four loose paper strips:
Important parts clear of the border:
Broad cardboard border on all four sides:
Final frame position:
Folder for the drawing and frame: