A flat paper spiral around a Christmas drawing
Draw a small Christmas picture in the middle of a paper circle. Cut a broad spiral around it, then arrange and glue the whole piece flat on a larger backing.
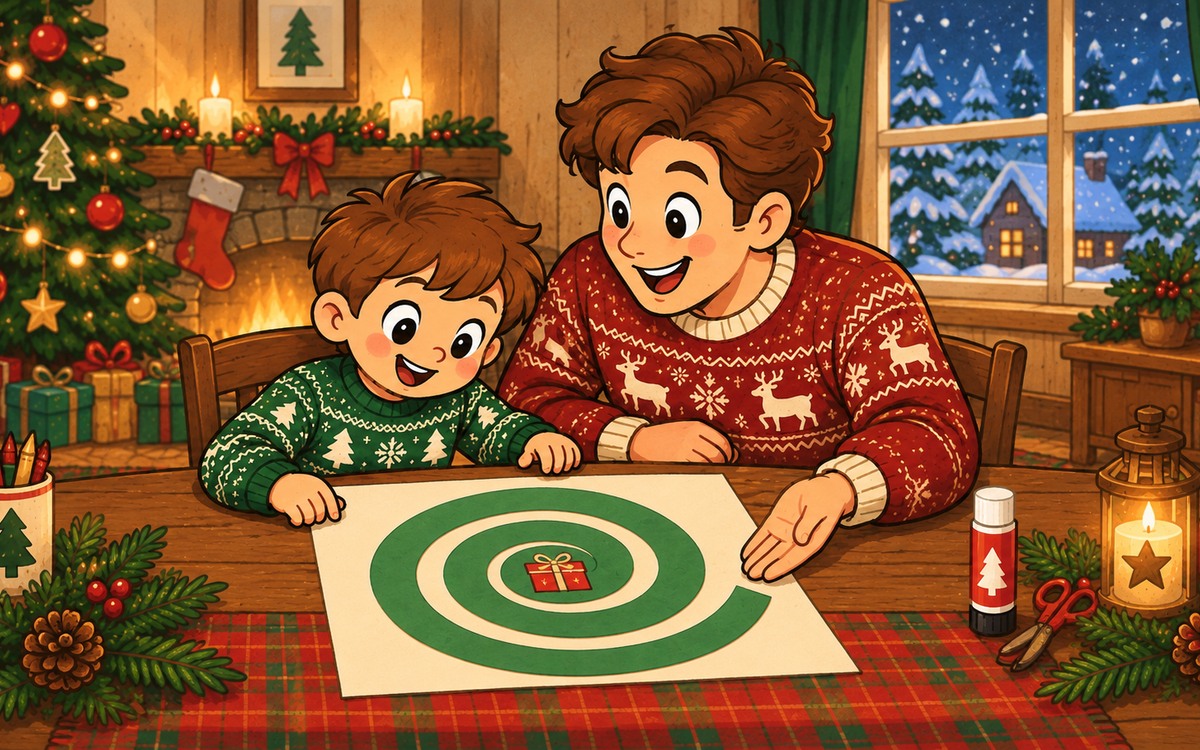
Begin with a wide circle
A paper spiral can surround a small Christmas drawing without hanging from a ceiling or spinning above a heater. This version stays flat on a backing sheet. The middle and the curling strip remain one connected piece.
Use colored paper, pencil, scissors, a glue stick and a larger plain backing. Trace around a large plate, then remove the plate and cut out the circle. An adult can help with cutting. Thin card also works if it bends easily enough to lie flat.
Keep a broad central area for a little tree, gift or other picture your child chooses. Draw it now, before the paper becomes harder to hold. Leave room around it for the cut to stop.
Draw a roomy spiral
From the circle's edge, draw one curving line that travels inward around the middle. Keep generous, fairly even space between neighboring turns so the resulting strip will be broad. About two turns are enough; do not squeeze in more to fill every gap.
Stop the line before it reaches the picture. The remaining middle should be a broad patch attached to the inner end of the strip, not a separate little disc.
Trace the proposed cutting route with a finger first. If two stretches nearly meet, rub out that part and redraw a wider curve. For a child who prefers drawing, leave the spiral uncut and color beside the line instead.
Cut, then arrange before gluing
Cut along the line from the outside toward the middle, turning the paper as you go. Support the loose strip rather than pulling it. Stop at the pencil line's end. Keep the central picture attached.
Lay the whole spiral on the backing. Gently spread the turns enough to show narrow spaces between them, keeping every part flat and within the backing edges. The shape can be uneven. If it resists opening, keep the turns closer rather than stretching the paper.
Check that the picture is visible and the outer end has room. Move the arrangement before using any glue.
Fix it down a little at a time
Hold the middle in place. Lift and glue a short section at a time, beginning near the center and following the strip outward. Return each section to its arranged position before moving on.
Let the glue set flat. Your child can add one drawn star on the backing or leave the spiral as it is. If a narrow section tears, glue both ends down beside each other; it can remain part of the picture.
OUR FLAT CHRISTMAS SPIRAL
Central picture: ______
Broad circle and larger backing ready: ______
Roomy spiral, about two turns, ends before picture.
Finger check completed before cutting: ______
Central patch stays attached to strip.
Dry arrangement fits backing and lies flat: ______
Glue short sections from center outward.
Finish: one backing detail / leave as it is / use an uncut drawn spiral