Fold a Christmas paper bird and check that its wings move
A flapping bird is an action model: a gentle pull on the tail moves the wings. A static crane or a flat bird silhouette is a different result. Use an undecorated square first and check the movement before adding a Christmas pattern.
Choose thin folding paper that the participants can handle. Thick card makes the layered folds harder to move. No scissors or glue are needed for this traditional model. Begin with a larger square if small folds are awkward, and work on a clear table.
Keep Origami-Fun’s illustrated flapping-bird instructions open beside you. The step numbers below refer to that sequence. OrigamiUSA also lists this as a traditional model.
Make a square base
- If the paper has a colored side, start with that side up. Fold corner to opposite corner along each diagonal, opening the square after each fold. Turn it over. Fold edge to opposite edge in both directions and reopen.
- Hold the square like a diamond, with one corner toward you. Bring the left and right corners inward toward that bottom corner while lowering the top corner to meet it. Let the existing creases guide the layers together. Flatten gently into a smaller layered diamond; do not make a new crease to force it shut. See steps 1–3 of the linked diagram.
- Keep the closed corner at the top and the four loose tips at the bottom. Check that you can lift just the front lower layer. If the opening is at the top, turn the model around before continuing.
Open the long diamonds
- On the front layer only, fold the lower left and right edges to the vertical middle crease, making a kite shape. Crease and unfold. Fold the top triangle down over the kite’s upper corners to mark a horizontal hinge; crease and reopen. See steps 4–5.
- Hold the other layers down. Lift just the front lower tip upward, opening that layer along the horizontal hinge. As it opens, bring its left and right sides inward along the guide creases. Some of those creases reverse direction. Ease them into place and flatten the raised layer as a long, narrow diamond. This opening is the petal fold shown in step 6.
- Turn the model over without changing which end points down, and repeat on the back. The finished bird base has a long diamond on each face, two separate narrow points below and broad flaps above. Compare with step 7 before moving on.
Form the neck, tail and wings
- Keep the two separate narrow points down. Fold the left point upward and outward along the model’s left outside edge, then unfold. Make the matching upward crease on the right point. These guide creases set the neck and tail directions; compare step 8.
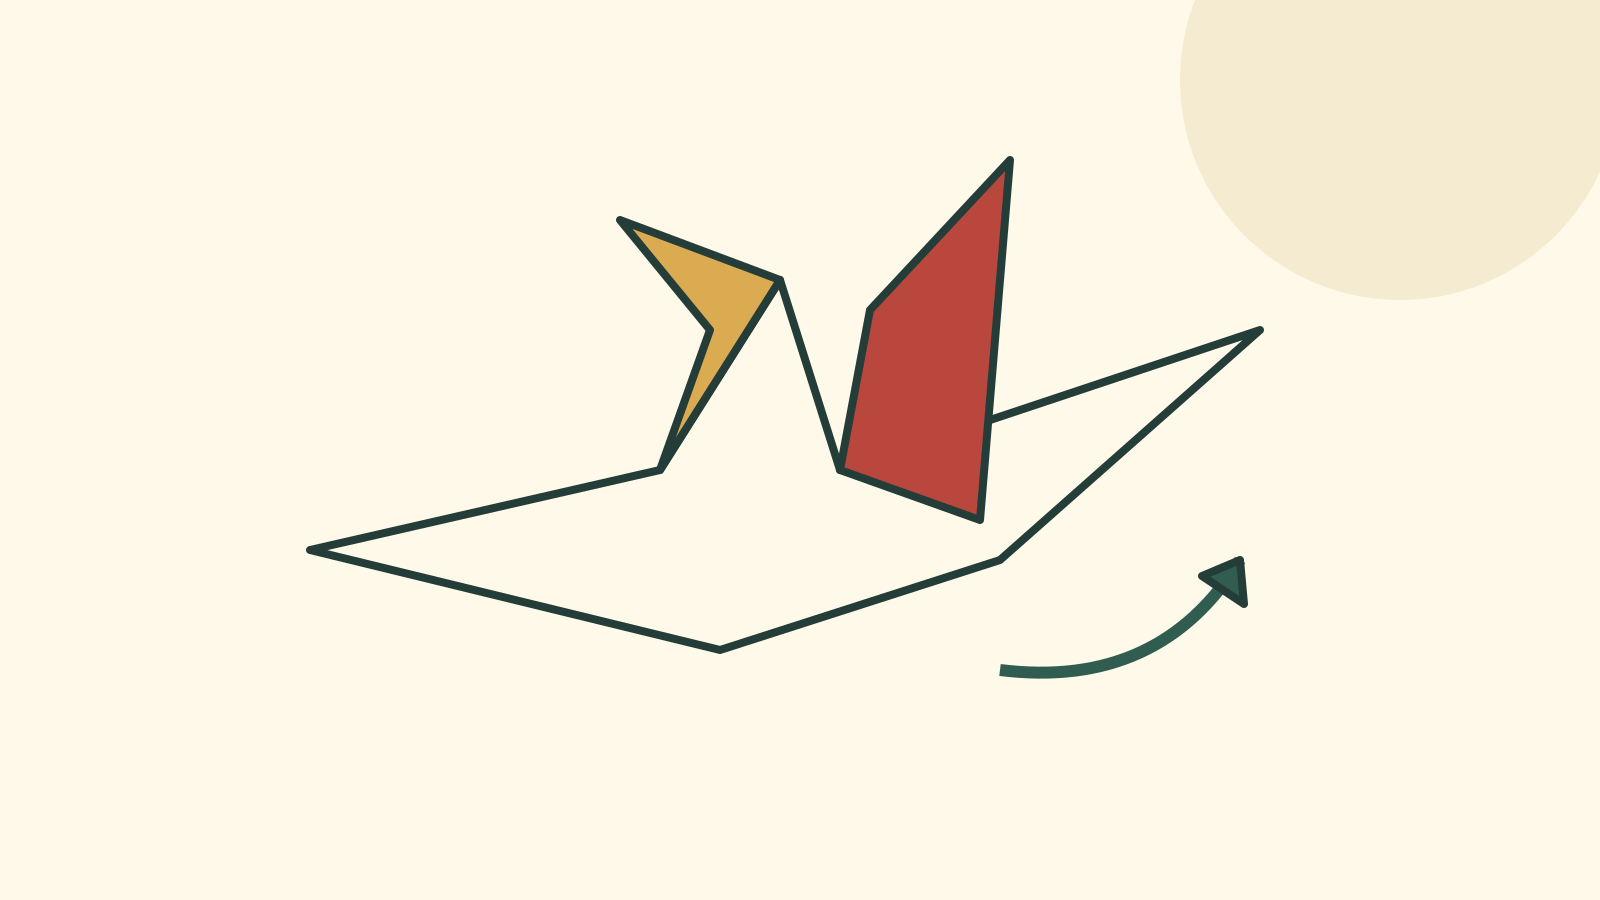
- Slightly separate the layers around the left point. Push that point upward between them along its guide crease, reversing the crease so the point emerges upward and outward. Close the surrounding layers gently. Repeat with the right point. This is an inside reverse fold: the point sits between the layers rather than lying over the outer face. See step 9.
- Choose one raised point as the neck. Fold its tip downward to mark a small head, unfold, then open the neck layers slightly and tuck the tip downward between them along that crease. Close the layers gently.
- Fold each broad upper flap downward to make a wing, using the same height on both sides. Compare the head and wing positions with step 10, then ease the wings partly open. Do not add the extra narrowing folds used in some crane models; follow this flapping-bird sequence.
Try a gentle movement
Hold the body near the neck with one hand and ease the tail outward with the other. Stop if the paper strains or tears. The goal is a small wing movement, not pulling the tail free.
| What happens | What to inspect |
|---|---|
| One wing is trapped | Layer arrangement and wing fold |
| Whole bird turns instead of flapping | Grip and the gentle direction of pull |
| Body is too stiff | Paper thickness and compressed layers |
| Fold begins to tear | Stop and remake with suitable paper |
Do not glue the body closed to hold its shape: that can lock the moving folds. If you need help, compare the action model’s diagrams rather than following instructions for a different bird.
Add the seasonal detail last
Draw a small star or a light pattern after your own successful movement check. Avoid attached pieces that weigh down or bind the wings. Retest after decorating.
If the bird remains still, reopen the wings slightly and check that your grip leaves the tail free to move. Compare with the linked demonstration before pulling again. You can keep an unsuccessful attempt as a decoration and try the action model again with a fresh square.