Turn a Christmas drawing upside down and find a new idea
Start with three simple shapes, turn the page and look again. A few new marks can give the same drawing another story.
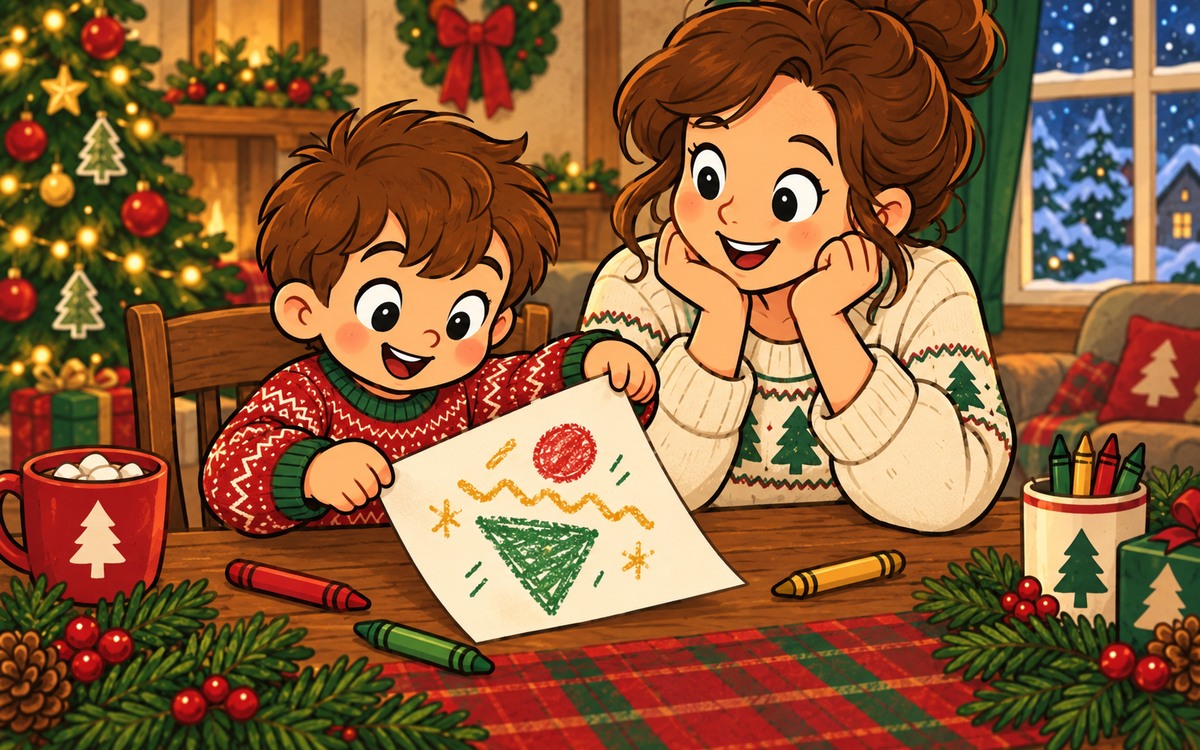
A triangle can begin as a Christmas tree, while a circle becomes an ornament beside it. Turn the page and the shapes stay the same, but you may notice another way to use them. Try a drawing that grows through looking and turning rather than copying a model. You need one sheet and ordinary pencils or crayons.
Begin with shapes that leave some room
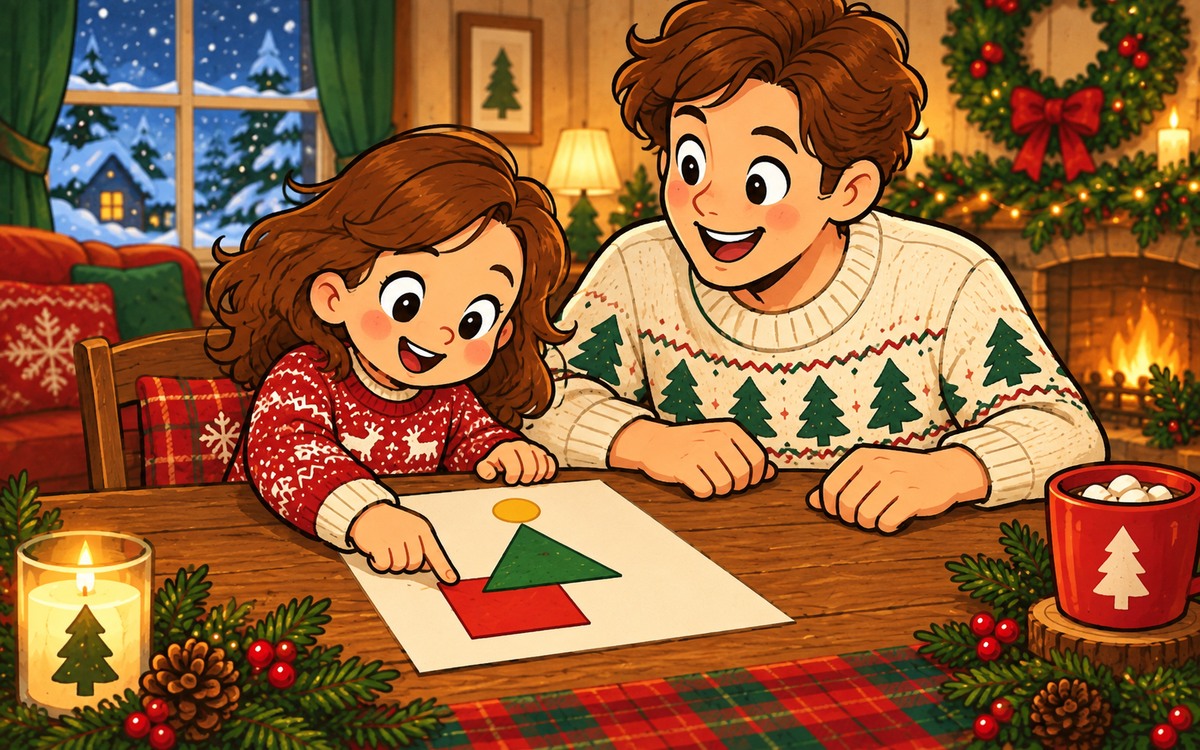
Put a triangle, a circle and a wavy line on the page. Spread them out so you can add small details later. Use any colours you like. They do not have to make a complete scene yet; a child can choose their positions and tell you what they remind them of.
For a proposed first picture, the triangle is a tree, the circle is a decoration and the wavy line is a path. Add only enough marks to suggest that idea. Keep the page flat while drawing. If your child already wants a different first scene, use theirs; the activity does not depend on this example.
Turn the page before adding more
Put the pencil down and rotate the paper halfway around, so the top becomes the bottom. Look at the same triangle, circle and line from this new direction. Ask one open question: “What could this be now?” Leave time for looking instead of offering a string of answers immediately.
The child might imagine a creature with a triangular nose, a circle for its body and a wavy tail. That is another proposed idea, not the right answer to an optical puzzle. They may see a new Christmas character, a different landscape or nothing new yet. You can turn the sheet a quarter-turn instead, or leave the first drawing as it is.
Add details for the idea you choose
If a second idea appears, choose one or two marks that make it easier to see. Eyes may suggest a creature; a small window may turn a shape into a house. The first drawing's marks can remain visible. There is no need to erase them all to make a tidy second picture.
Turn the page back once and compare the two views. Your child can give each view a title, describe the change or choose a favourite direction for displaying it. A second sheet is optional if they want to develop an idea separately. Keep the drawing in the orientation the maker chooses; a visitor can be invited to turn it only if the maker wants to show both views. One unexpected detail can be enough to finish.
Our three shapes:
First idea:
Direction we turned the page:
Second idea, if one appears:
New marks we chose:
Direction for displaying it: