Make a folded-paper holly corner for a Christmas card
Fold and cut two green leaves, then arrange them with three red paper circles in one corner. Try the layout before gluing so the Christmas message still has room.
Keep the decoration to one corner
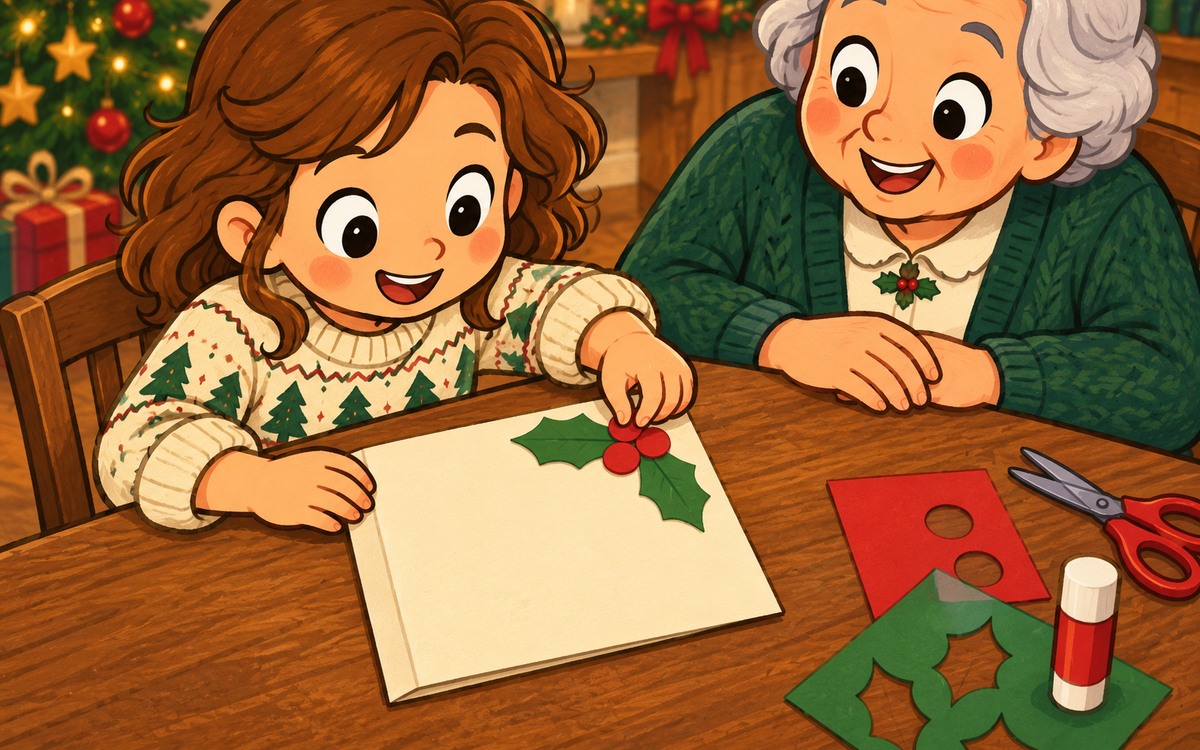
Two green paper leaves and three red circles can suggest holly on a child-made Christmas card. Folding the leaves before cutting gives each one a matching outline on both sides. The main choice afterwards is how to fit the decoration into one corner without covering the greeting.
Use green and red paper, a folded card, a pencil, scissors and a glue stick. This version uses paper shapes throughout, including the red circles. Choose pieces large enough for your child to pick up and arrange comfortably.
Cut a leaf with the fold as its middle
Fold a small green rectangle lengthways. On the folded paper, draw half a long leaf: begin at the fold near the top, curve outward, and return to the fold near the bottom. The straight folded edge becomes the leaf's center.
For a holly-like outline, add two shallow inward notches along the curved outer edge. Leave plenty of paper between each notch and the fold. Broad points are easier to cut and handle than a row of tiny spikes.
Cut along the drawn outer outline, with adult help where needed. Do not cut along the folded middle between the two tips. Open the paper to reveal the whole leaf and press it nearly flat. Repeat for a second leaf, using the first as a size guide if you want.
Arrange leaves and circles before gluing
Cut three broad red circles from paper. They may be slightly different sizes; there is no need to make tiny matching dots. Place the leaves in a corner of the card, with their bases meeting and their tips pointing in different directions.
Add the circles over the meeting point. Check that all the paper stays inside the card edges and clear of the main fold. Leave the middle of the front free for your child's drawing or greeting.
Move the whole group a little inward if a leaf tip overhangs. Hold the loose pieces in place as you try opening and closing the card. If the arrangement catches or slides awkwardly, move the pieces before attaching them.
Finish and check the card
Lift one piece at a time, apply glue to its back and return it to the chosen place. Press gently, including along any raised leaf fold. Keep the red circles flat over the leaf bases.
Let the glue set before your child opens the card again. Check for a loose tip and press it down if needed. Add the greeting in the space you saved. One finished corner is enough; you can keep the remaining paper for another activity.
OUR PAPER HOLLY CORNER
Two leaf middles left uncut: ______
Three broad red paper circles: ______
All shapes stay inside card edges: ______
Main card fold stays clear: ______
Space saved for greeting: ______
Loose tips checked after gluing: ______